
The windows installation can be a part often overlooked in your home, but they are, however, essential to keep the interior humidity, the temperature and give your home or apartment a lot of sunlight. Window lining has become a common option in many commercial windows, and you should be fully aware of what it is before deciding on what type of getting.

The window cover is very similar to the frame and is located around the perimeter of the window. It is sealed in the glass with some sort of sealant, such as silicone, and is designed to direct the water out of any of the underlying wood from the window frame, which in the end prevents rot.
The lining of the windows is necessary for the waterproofing of windows. Without them, the water would penetrate the frame. The lining of the windows was made of wood. Some manufacturers still manufacture wooden coating for those who want to achieve the “old” look for a home, but it is relatively unfocused. The modern coating is made of aluminum or vinyl. Unlike wood, vinyl and aluminum do not rot over time with water, they are stronger than wood and do not need a frequent painted.
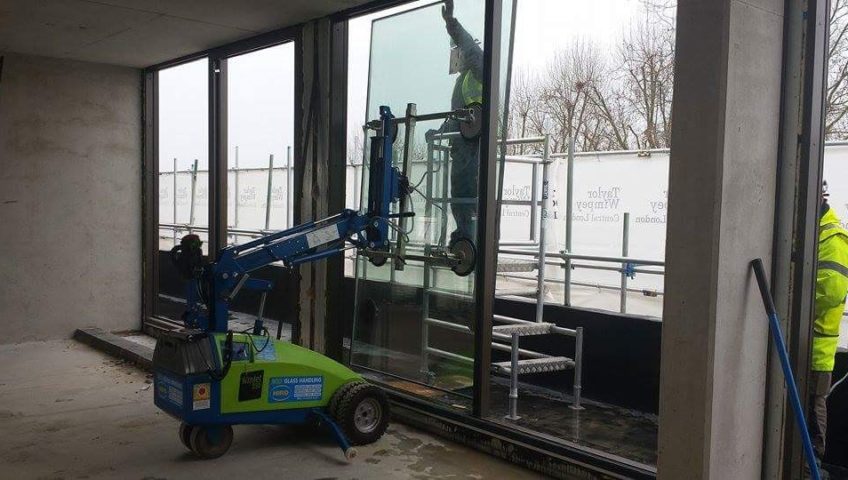
Installation of window
Take the protection shield from the unit and right to sell / recycle. Check the unit for any hidden damage and immediate report. Remove the vinyl shipment blocks from the doors or cargo tube assembly of Ultimate Double Hung units to
installation is complete. If you installed a window with mounted brackets or structural masonry clips, tap the
windows now (if not installed in the factory). Follow the instructions given on brackets.
Place the jamb extension before putting the window on the opening of the road. Follow the instructions given the extension of the jamb. In units with optional aluminum nail fins: manually Fold the nail until it is perpendicular to the frame Be careful during handling and installation damage the corner board. Once the unit is protected at Open the drip lid supplied to the “L” shape and install flashing instructions per unit.
From outside, rest on the bottom of the separator window, and then slowly push the top toward the opening. Drive a particle of the nails through the plaster to one of the upper corners. Check that the window is level, make the necessary adjustments to the squares, and then finish driving the nail. Attach the nails to the other corners and then around the perimeter.
Insert shims along the sides near the top and bottom of the window and at the midpoint and adjust them as necessary until the window is plummeted. Check to make sure the window is operational, and then make sure the window is facing the opening, with the nails in the mold or the brick casing. Apply the flashlight and the sealant (outside and inside) according to the manufacturer’s instructions.
Inside, mark the window to get the level and add the barriers until the window adapts to the opening. Use a nails keys to set the nails just below the surface. Add the insulation between the branches and the studs to cut, cut the blankets so that they are fitted with the wall, and then place the interior. Inside, you can apply the molding to complete your project: a stool or hanging windows.
Door Glazing
The lining of the door is the process of covering the doors with another material to achieve a desired aesthetic appearance. Materials commonly used to cover the doors are sheets, sheets, stainless steel, bronze, aluminum and paint aerosol.
Installation
The entry door installation is very easy and simple to learn that you can easily do that by following the instructions here
Place the first sealing ball 1/2 ” in front of the base of the interior Threshold lip This counter should also be continue along the corner of the socket pan at each end, sealing the vertical joints of the legs of the Panera. Continue the first one grab 6 “on each side of the rough opening.
The second counter should be approximately 1/2” from the outer edge of the rough opening, running from the branch to the branch with a break of 2 “at the center of the opening. Place a third staple of sealing in the slot of the support of the closure from tip to tip or 1/4 “from the outer edge of the wood block.

Apply a sealant to the back of the flash and slide the flash into any resistant barrier of the existing time. Place the panties on Each location of hinge and lock between the door and the sides of the opening. Cut the bees so that they turn back 1/4 “- 1/2” from the inside of the door frame.
Insert shims in other locations when necessary Starting 6 “from the bottom of the Door To square at the opening. Make sure the frame in the box that is revealed is the same from the top of Jam at the bottom, one end of the head at Another one and one end of the sill on the other. (The revelation next to the hinge may be narrower that the head, the lock and the threshold).
Through each hole of the installation screw, make a 1/8 “pilot and install it a corrosion resistant screw # 8 x 3 “(supplied) to the pilot hole in the ground. For doors including a standard block installation bath for instruction included with the welding attack package.
Remove the packaging machinery and place them in a large flat area, positioning the pieces in the correct orientation. Take the part of the head to the jambs using the screws provided (# 6 x 11/16 “). Apply the brick-piece set to the unit by pressing on the beards that are on the fin.
Insert the rod from the frame into the space around the door deep enough to provide at least a 1/2 “separation between the support bar and the masonry.
From the Inside, insert the applicator filter about “deep in space between the door and the rough opening and apply a handful of sponge “. This will do it Allow space for foam expansion and minimize squeeze Apply a sealant to the inner surface of pants to create a continuous stamp. For doors with jambs the installed extensions ensure that the foam is placed between the frame
Write a Comment